Oil changes are completed at every routine car service but knowing how to change your oil is an excellent skill. It’s an essential of simple DIY car maintenance and it can save you some cash along the way. Changing your oil should take about an hour for a beginner but once you’ve done it a few times, it might take closer to half an hour.
When to complete an oil change
The rule of thumb here is that you should change your oil every 10,000 kilometres or every six months — the same as your car service. However, each manufacturer specifies varying intervals for kilometres travelled and time limits when it comes to oil changes. Older cars will typically need their oil changed more frequently than a newer car. A lot of new car models now have lights that indicate you might need an oil change too.
What you’ll need for an oil change
- Engine Oil
- Oil Filter
- Oil Wrench or Oil Filter Wrench
- Sump Plug Washer
- Vehicle Jack
- Axle Stands
- Wheel Chock
- Drain pan
- Funnel
- Old towel and a rag
- Gloves
- Degreaser
Steps to change your oil
Step 1: Work out which kind of oil you need and how much
Step 2: Prepare your car, tools, a container, and a towel
Step 3: Find the oil drain plug & drain the oil
Step 4: Remove the oil filter
Step 5: Tighten the oil drain plug
Step 6: Replace the oil filter
Step 7: Add new oil
Step 8: Check the oil level
Step 1: Work out which kind of oil you need and how much
The first step of an oil change is working out which oil you’ll need and how much of it. Your car’s owner manual should specify which oil you need. If you’re unable to find your owner’s manual, there are other resources online too or your local car shop, like Supercheap Auto, can usually help you out.
Your manual should let you know how much oil you’ll need too. Always buy a little bit of extra oil — but, if you’re planning to buy the oil in bulk, make sure you’ll be able to lift it, and hold it steady while you pour.
Step 2: Prepare your car, tools, a container, and a towel
Make sure you’ve got all of your tools, oil, and cleaning equipment ready to go. Prepare your car too. Your engine will need to be warm, but not hot. So let it sit there long enough that it cools down, but not long enough to go cold. The car should be parked on a flat and level surface. It should be in ‘park’ or in gear, turned off, and the handbrake should be on.
You might need to raise your car to get better access — now is the time to do it. You can use a trolley jack and axle stands for this. If you’re not lifting the car, putting chocks in front of your wheels is a good idea.
If you have a newer car, your engine might have an undercover over the engine. You’ll need to remove this to access your oil filter and drain plug.
What you’ll need:
- Engine Oil
- Oil Filter
- Oil Wrench or Oil Filter Wrench
- Sump Plug Washer
- Vehicle Jack
- Axle Stands
- Wheel Chock
- Drain pan
- Funnel
- Old towel and a rag (your first oil change especially will get messy)
- Gloves
- Degreaser
Step 3: Find the oil drain plug & drain the oil

Now is the time to put on a pair of gloves — this will help with the heat of the engine and save hand-washing time later on. Find your drain plug, your drain plug is a large nut or plug and can be found underneath the oil pan at the bottom of your engine.
Position your oil container or pan underneath the plug before unscrewing, so it’s ready to catch the oil. Make sure to note that it won’t pour directly down, it’ll pour on an angle so your pan should be positioned properly. You can sort of cap the drain with your finger while you work out where’s best for the pan.
You may be able to unscrew the plug with your fingers but usually this will require a wrench. The oil should now drain into the container. To help get the oil flowing nicely, you can remove the top oil cap too.
While the oil’s draining you can give the drain plug a clean.
Step 4: Remove the filter

If you have two oil pans, you can do this step while you wait for the oil to drain out of the plug. If you don’t, you’ll need to wait and use the pan here as well. Oil filters aren’t attached very tight during your car service, but their sealing gaskets can swell over time, making them tighter to get out. If this happens, you can give it a tug with a wrench.
As soon as your filter is loosened, oil will gush out. So only use the wrench to loosen the filter and then remove it slowly, keeping your oil pan in position. Once the filter is coming off, don’t let go of it and don’t let it drop into the pan. Be prepared for a bit of a mess at this stage.
Step 5: Tighten the oil drain plug

Take either your new, replacement drain plug or your old, cleaned up drain plug and tighten it back on. You’ll know the drain plug has been tightened properly if you’ve used the square end of a combination wrench to tighten the plug as much as possible — without using a hammer or other tool for extra leverage. You want to tighten the nut well, but not too much as this can strip the nut of its threading.
Step 6: Replace the oil filter
It’s important to make sure the old filter’s O-ring is removed — a double up of these means the oil won’t travel through the engine properly, which causes huge issues. Grab your new filter and dab a bit of the new oil around the O-ring.
To install the new filter, spin it on really gently until the O-ring first makes contact with the seal. Your oil filter should be tightened from three quarters of a turn to a full turn. You don’t want to over-tighten the filter here so it’s a good idea to check the specification in your owner’s manual.
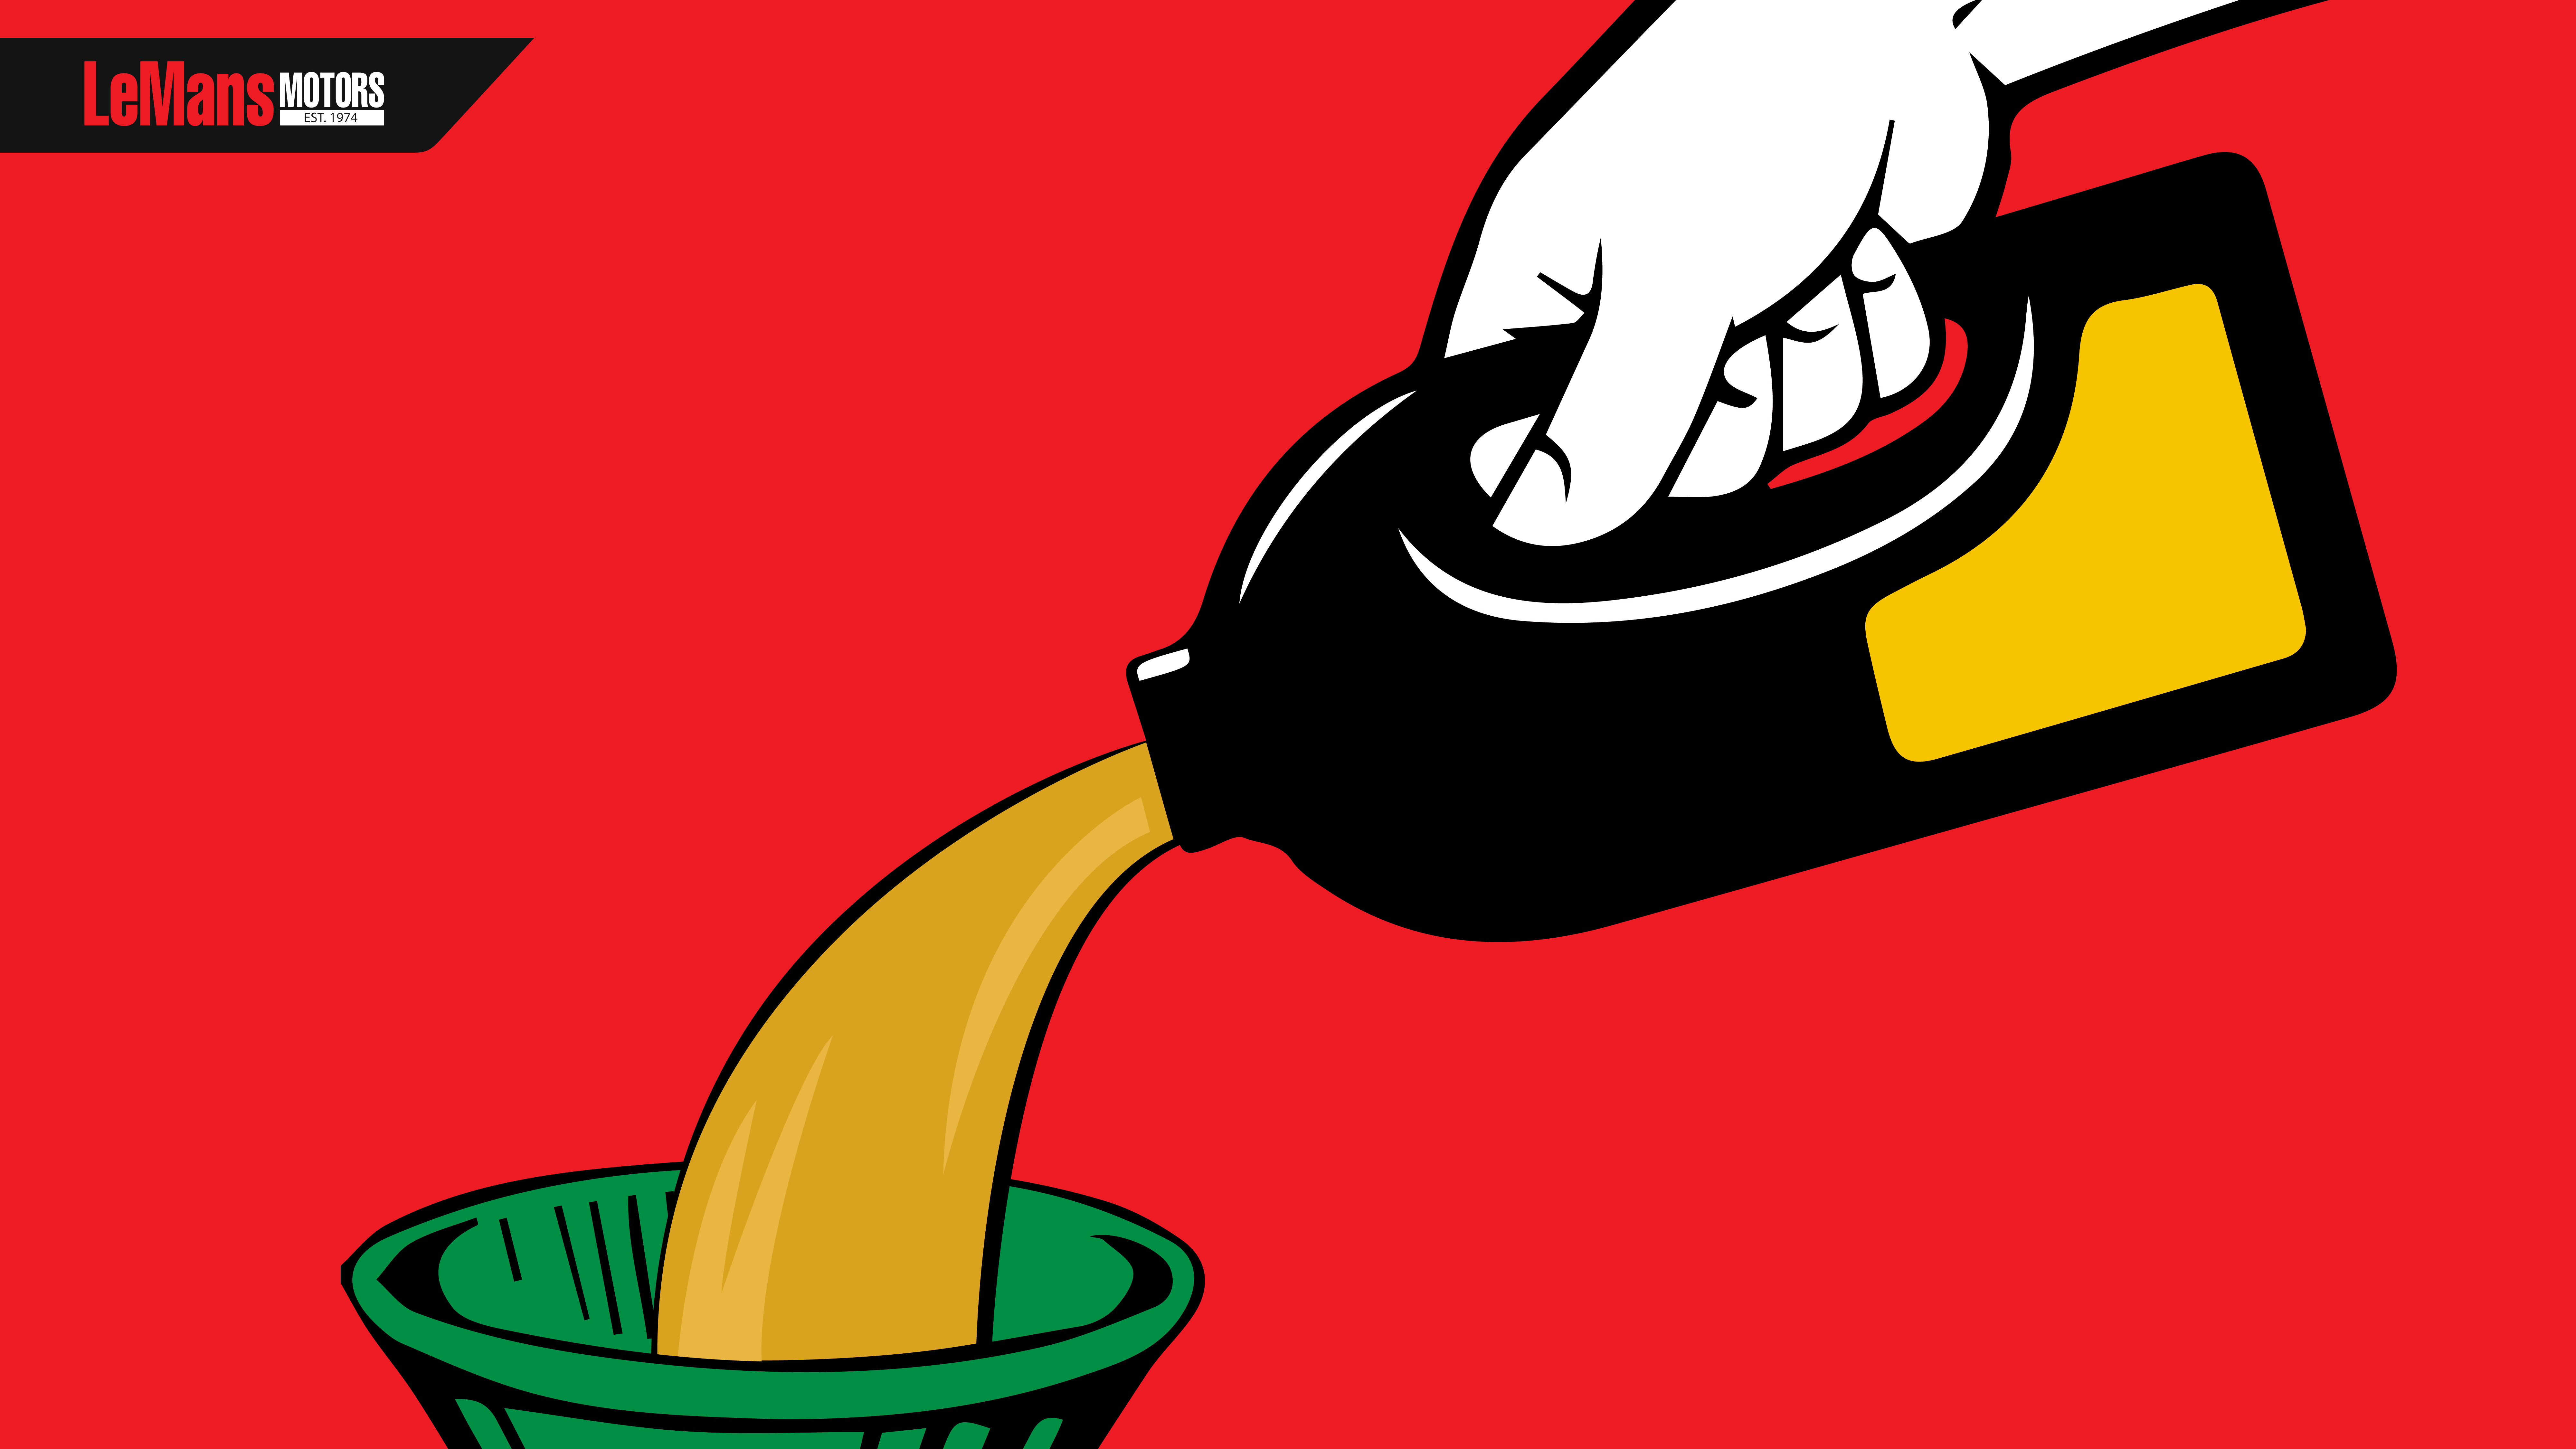
Step 7: Add new oil
It’s time to add the oil now. At this stage of the oil change, it’s best to double check that both the drain plug and oil filter are properly in place and tightened well. Pour in the new oil, but make sure to pour in about one litre (1L) less than is recommended.
Now, replace the oil cap and start your car’s engine. Run it for 30 seconds or so, so that the oil runs through the engine. Then, you can turn the engine back off and check underneath the car for leaks.
Step 8: Check the oil level
Once you’re happy the change has been completed perfectly and there are no leaks, you can bring your car back down to flat and level ground. Then you can check your oil — it should be a bit lower than full because we didn’t add in that extra litre. Pour in the extra litre or so now.
Your first oil change is complete!
—
After more than an oil change? Bring your car into one of our Bulimba, Newstead, or Milton workshops for your next car service.